The first hard freeze rarely announces itself. It comes on a clear night in October, somewhere after you've driven home, and it does not care that you meant to get back up next weekend.
Most winter damage at a cold-climate cottage happens in a handful of predictable places: a trap under the kitchen sink, a supply line running through an unheated crawlspace, a gap around the chimney where the flashing was never quite right. None of it is hard to prevent. It just has to happen in order, and it has to happen before the ground hardens.
Ten weekends is enough time to do this properly, even if you're only up on Saturdays. Spread the work out and the last trip becomes a quiet hour with a checklist instead of a scramble with a flashlight.
Weekend 1: Walk the Property Like a Stranger
Show up with a clipboard, a flashlight, and a pencil. Walk the outside first, looking up as much as down: missing or lifted shingles, gutters pulling away from the fascia, caulk that has cracked around window frames, new gaps where the siding meets the foundation. Look for animal entry points — a torn soffit vent, a hole where a pipe enters the wall, droppings near the woodpile.
Inside, check under every sink for old stains, look at ceilings for rings, and open the basement or crawlspace door and stand there for a minute. Damp air has a smell. So does mouse urine.
The point of weekend one is a list, not repairs. Write down where your water lines run, where the shutoffs are, and what you'll need to buy. From here on, the work is decisions you already made.
Weekends 2 and 3: Drain the Water System Properly
Frozen water is the single most expensive thing that happens to an unattended cottage. A split copper line is a nuisance; a split line that leaks for six weeks is a new floor, new drywall, and possibly a new subfloor.
Do this in order, and don't skip ahead:
- Turn off the water source. That means the well pump breaker, or the main shutoff if you're on a shared or municipal line.
- Open every faucet, working from the top of the cottage down, then open the lowest drain in the building.
- Drain the water heater from its bottom valve, and the pressure tank if you have one.
- If you have a compressor, blow the lines out — one person at the tank, one inside opening a single faucet at a time. Keep the pressure low and let air push the water out rather than pressurizing the pipes.
- Pour non-toxic plumbing antifreeze (propylene glycol, sold as RV antifreeze — never automotive coolant) into every drain trap, the toilet bowl and tank, and the washing machine pump.
- Leave the faucets open. If a little water is still in there, it needs somewhere to go when it expands.
Traps, toilets, and the appliances people forget
The big pipe under the sink is obvious. The three litres sitting in the toilet tank are not. Neither is the water in the dishwasher drain hose, the washing machine pump, the refrigerator ice maker line, the under-sink filter housing, or the sprayer hose.
- Toilet: flush it, then sponge out the bowl and the tank by hand.
- Dishwasher: run a drain cycle, then disconnect the drain hose and let it hang into a bucket.
- Washing machine: pull the hoses, drain the pump, leave the lid open.
- Outside: hoses, hose bibs, sprinkler lines, rain barrels, the pressure washer, and the little shutoff inside the foundation wall that feeds the outdoor tap.
The pump, pressure tank, and water heater
Kill the power at the panel before you touch the pump or the tank. If the water heater is gas, shut off the gas at the appliance and leave the pilot instructions where you'll find them in spring. Label the breakers with a marker while you're standing there. Future you, in the dark, in May, will be grateful.
Weekends 4 and 5: Seal the Envelope
Air sealing does two jobs: it keeps rodents and cold air out, and it keeps warmth in on the weekends you do visit in February. Start with a tube of exterior-rated caulk, a can of low-expansion spray foam, and a roll of weatherstripping.
Where cold air actually gets in
- Holes drilled for plumbing and wiring in floors and ceilings
- The chimney chase, attic hatch, and dryer vent
- Window and door frames, especially on the windward side
- The sill plate and rim joist in the basement or crawlspace
- Old exhaust fans, mail slots, and pet doors nobody uses anymore
For windows you want to open again in spring, use removable rope caulk or interior shrink film rather than a permanent seal. Add door sweeps and new weatherstripping at the exterior doors, and check that the storm windows actually latch. On foundation vents, follow the guidance for your building type — some crawlspaces need cross-ventilation to stay dry, and sealing them can cause more trouble than it solves. If you're unsure, ask a local contractor or your building inspector before you cover them.
Weekend 6: Roof, Gutters, Chimney, and Grade
Wait until most of the leaves are down, then clean the gutters and check that every downspout discharges well away from the foundation — a downspout that dumps at the corner will feed water into the basement all winter and again at breakup. Clear roof valleys, and look at the flashing where the roof meets the chimney.
Cap the chimney with a screen to keep animals out and close the damper. Check that the ground slopes away from the cottage on all sides and that there's nothing stacked against the siding: firewood, lumber, a wheelbarrow, the pile of siding left over from the addition.
Weekends 7 and 8: Pests, Power, and Storage
Mice will find a gap the width of a pencil. Push copper mesh or steel wool into openings around pipes and sills, then foam over it — mice chew through foam, but not through the mesh inside it. Set a few snap traps on the floor along walls before you leave, and put nothing edible on the counters. Take the birdseed, the flour, and the dog food home.
Anything liquid that can freeze should go with you: paint, glue, aerosol cans, cleaning supplies, bottled drinks, canned goods. Cold splits cans and turns latex paint into a brick. Unplug the fridge and leave the door propped open.
Decide about the power deliberately. Leaving it on lets you keep a minimum heat setting, but it also means an unattended fault has fuel. Leaving it off is safer for wiring but harder on the building through a deep freeze. Check your insurance policy: many require either draining the plumbing or maintaining heat, and that's worth a call to your broker rather than a guess.
Weekend 9: Keep It Dry
Dampness does more quiet damage to a closed cottage than cold. Before you lock up, clean the kitchen and bathroom, wipe down the countertops, and make sure nothing is left wet — towels, sponges, mop heads, the shower curtain. Leave interior doors open so air can move between rooms, leave cabinet doors under sinks open, and set out a few moisture absorbers in the basement and bedroom closets.
Sealing the building against outside air is good. Sealing a puddle inside it is not. If your cottage has a history of damp basements, have a neighbour check the place in January after a thaw.
Weekend 10: The Final Walkthrough
Do this one on the way out, in order, with the list in your hand:
- Water off, lines drained, antifreeze in every trap
- Pump breaker off, water heater drained and off
- Faucets open, fridge unplugged and propped
- Thermostat at its minimum setting if heat stays on — around 10°C (50°F) is a common choice
- Gutters clear, downspouts extended, outdoor furniture and hoses stored
- Windows latched, doors locked, chimney damper closed
- Neighbour told, key where they know to find it, and a photo of the meter reading on your phone
Tape a copy of the list inside a cupboard door. In spring, the first person through the door will know exactly what was done and what to reverse.
A Cottage Shuts Down Gently
Nobody enjoys the last weekend of the season. It's cold, the light is going, and the lake is already gray. But a cottage that was closed properly opens properly: no burst pipe, no mouse nests in the blankets, no smell when you turn the key. Do the ten weekends, and the worst thing waiting for you in May is a lawn that needs mowing.
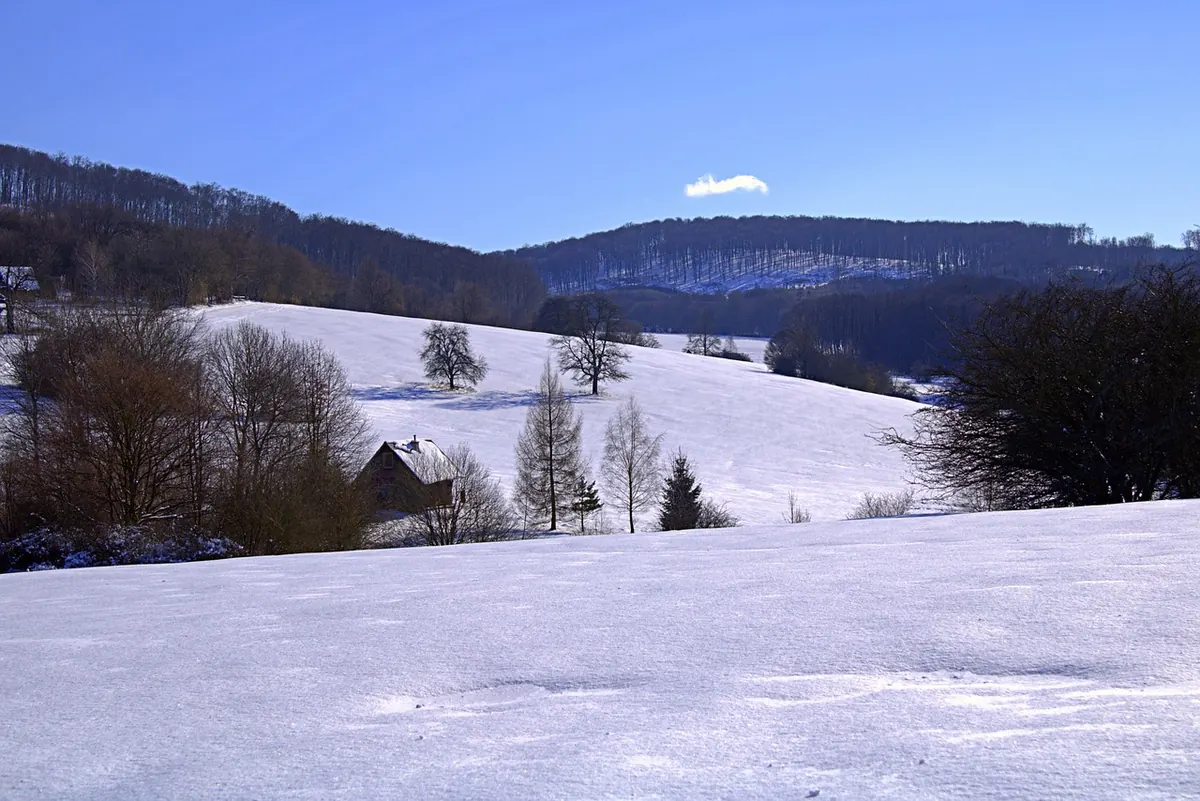
Photo: Peter1515 / Pixabay