Rainwater is free, soft, and kinder to your plants than the cold, treated water coming out of the hose. One barrel tucked under a downspout can carry a vegetable bed through a dry week, and the whole project takes an afternoon with a drill, a level, and a little patience.
The catch is that a full barrel weighs several hundred pounds, sits right against your foundation, and is regulated in some places. Get those three things right and the rest is straightforward.
Choosing the Right Barrel
Most cottage rain barrels hold 50 to 65 gallons, roughly 200 to 250 litres. Bigger is not automatically better. A full 65-gallon barrel weighs well over 500 pounds, and if it is not sitting dead level on a solid base, it will lean, leak at the seams, or work its way off the blocks over a season.
What to look for
- Food-grade or UV-stabilised plastic, opaque enough that light does not reach the water — that is what keeps algae from turning the barrel green.
- A tight-fitting lid with a fine mesh screen over the inlet, so leaves and mosquitoes stay out.
- A threaded spigot near the bottom, ideally brass or a decent quality plastic, plus a second port near the top for overflow.
- A moulded flat base. Curved bottoms look charming and rock like a boat.
- Enough height that a watering can fits under the spigot.
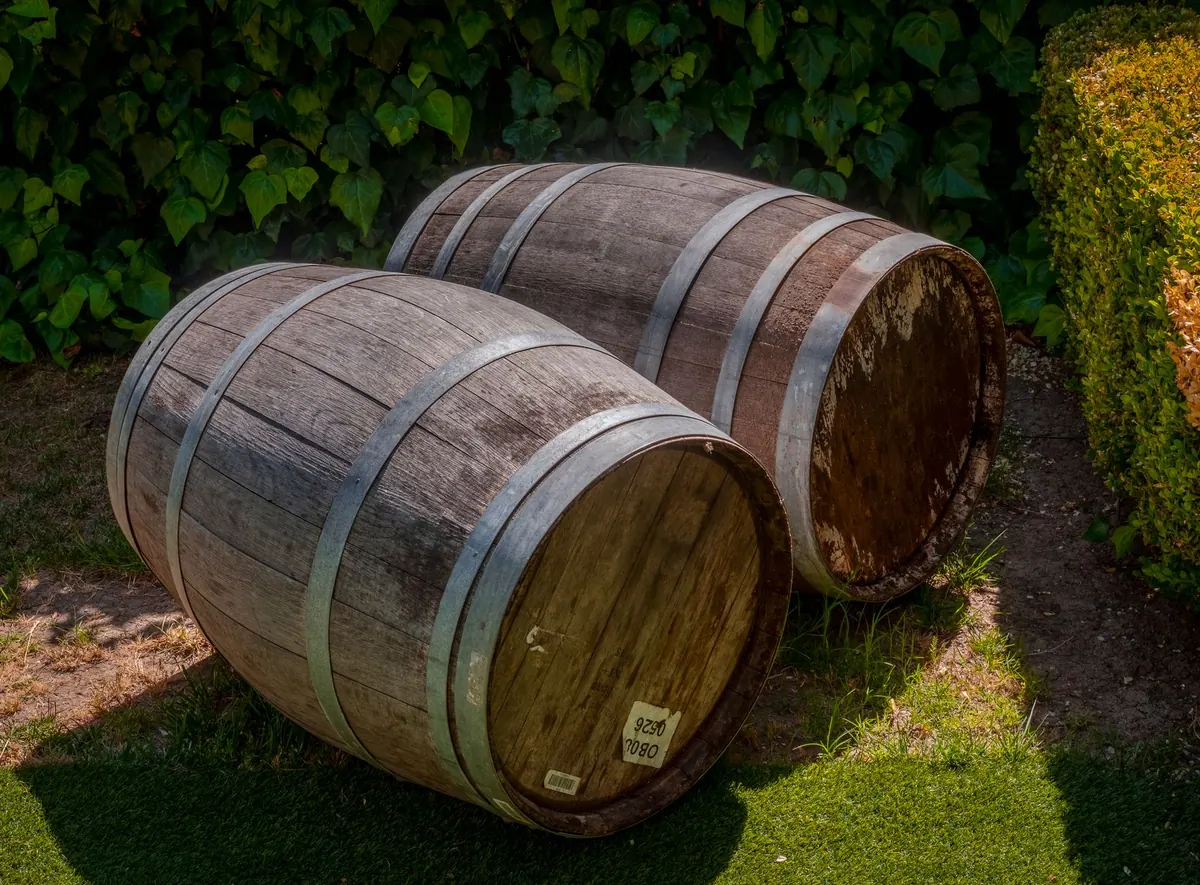
If you are using a repurposed barrel or an IBC tote, know what it held. Barrels that carried juice, olives, or pickles are ideal. Anything that once held oil, pesticides, or industrial chemicals is not worth the risk, no matter how many times you rinse it. Drums are also narrower at the top than they look, so measure before you promise yourself a spot.
Where to Put It
Start with the downspout that feeds the garden you actually water. A barrel on the far side of the cottage is a barrel you will ignore.
Set it on a base that will not sink: four inches of packed gravel, or two concrete pavers bedded into the ground, cut wider than the barrel's footprint. Wet soil compresses and winter ground heaves. A barrel on bare lawn will tip.
Raise it a little. Every foot of height between the spigot and the garden gives you a small amount of pressure — enough to make a short hose work, not enough to run a sprinkler. Two cinder blocks under a 55-gallon barrel put the spigot at a comfortable height and give the outflow a nudge.
Think about where the overflow goes. When the barrel fills, water has to go somewhere, and you do not want it against the foundation or under the deck. Run the overflow into a splash block, a gravel trench, or straight into a thirsty bed a few feet away.
Check the Rules First
Rainwater rules vary enormously. Some municipalities encourage barrels, some require a permit for larger storage, and a few restrict harvesting altogether. Homeowner associations and insurers sometimes have their own conditions.
Two things matter almost everywhere. First, keep the barrel completely separate from your household plumbing. A garden hose dunked in the barrel and then left in a sink is one way to create a backflow problem; a barrel that never touches your interior water supply is not.
Second, treat the water as garden water. Rain picked up off a roof is not for drinking, cooking, brushing teeth, or washing produce you plan to eat raw. Rinse vegetables in tap water after you pick them. If your local rules are unclear, a call to the municipal office or conservation authority settles it. For anything involving plumbing permits, water rights, or insurance, ask a professional.
Installing It, Step by Step
- Mark your height. Decide where the barrel sits, then mark the downspout a few inches above the barrel's inlet. That gap is deliberate: it gives overflow a place to escape and lets you lift the barrel away in winter.
- Set and level the base. Patience here pays off. Check the level in both directions, then check it again with the barrel in place.
- Cut the downspout. A hacksaw or tin snips handle aluminium or vinyl in a minute. A downspout diverter kit is gentler: it sends the first flush of dirty roof water past the barrel and lets you switch flow back to the ground for the season.
- Fit the screen or diverter over the inlet so nothing large gets in.
- Install the spigot and overflow port, wrapping threads with tape to stop drips.
- Test with a hose before the next rain. Watch the spigot, the overflow, and the base, and fix leaks now.
- Strap it down if the spot is exposed. On a windy lakeshore, a strap to a post or a bracket to the wall costs little.
Getting Water to the Garden
Gravity is a gentle delivery system, and that is fine. A barrel raised two feet will fill a watering can quickly and push water through a short hose to a soaker. It will not pressurise a drip line or a sprinkler. If you want drip irrigation, plan on a small battery or solar pump, or keep filling the can and walking.
A few habits make barrel water go further. Water in the morning so less evaporates. Aim at the soil rather than the leaves to keep foliage dry and reduce disease. Let a full can sit in the sun for an hour before watering seedlings — rainwater is already warmer than tap water, and plants respond to that.
Keeping It Clean and Winter-Ready
Through the season
- Clear the inlet screen every week or two in autumn, when leaves come down fast.
- If you spot mosquito larvae, a dunk containing Bti handles them without harming plants or pollinators; a tight screen prevents most of the problem in the first place.
- Drain and rinse in midsummer if the water smells sour or looks murky. A little sediment is normal. A swamp is not.
Before the first freeze
A full barrel that freezes can crack. In most cottage climates, drain it, disconnect the hose, and store the barrel upside down or in the shed. Reconnect the downspout with an extension so roof water still drains away from the foundation instead of pooling where the barrel used to be.
Start With One Barrel
Pick one downspout, one bed, and one barrel. Set it level, screen the inlet, and send the overflow somewhere useful. After the first good rain you will know whether the base holds, whether the hose reaches, and whether you want a second barrel beside the first — which, if we are honest, is how most cottage rainwater setups begin.
A rain barrel is not complicated. It just has to be level, safe, and connected to a garden you actually tend.
Photo: David McElwee / Pexels